How To Roast Your Own Coffee at Home: Different Methods: If you are interested in roasting your coffee beans, you’re dedicated to coffee, and you probably also have a bunch of questions on how to do this yourself. I learned how to roast coffee beans at home so I could create my favorite blends, save money, and ensure my beans were high quality, fresh, and organic! I’m a confessed coffee addict. I even went so far as to get a job running a coffee shop on a college campus. We’ve finally come up with a great blend at the shop, after trying many different coffees, types, and varietals. I keep thinking I should just learn how to roast coffee beans at home so I can make my favorite blends.
Aside from customizing your mix and saving cash, you can also roast green coffee beans just the way you like them. Lighter, with more caffeine and more acidic, medium for less acid and more flavor, or dark with a robust flavor and less caffeine. Coffee beans contain over 800 compounds that are transformed during the roasting process. This is known as the Maillard Reaction. You also see this on cooked meat and browning of bread. You’d never know what’s in your coffee when the beans are green since this only happens during roasting.
Roasting Essentials: (How To Roast Coffee Beans at Home)
Before you begin your home preparation journey, there’s some coffee knowledge you need. These five bits of information will help you understand what you’re about to do. Then we will get into the detailed how-to’s.
- First, choose and purchase green coffee beans. Next, heat your roaster. For popcorn poppers and roasting machines, turn them on and set to the right temperature if needed. For pans and ovens or grills, heat to 450°F – 500°F. It needs to be very hot. No oil is needed since the coffee produces its oil and cooking oil will scorch at those temperatures.
- Add coffee beans to your roaster. For machines, use about ½ cup for poppers and follow the directions for roasting machines. For pans, spread a thin layer on the pan, spreading the beans thinly. This will ensure even heating and roasting.
- If employing a pan, stir the beans constantly. Wear protective clothing as it’s going to get very warm!
- Light roasts take between 4-6 minutes and medium roasts 5-8 minutes. Start listening for the first “crack.” This audible pop is an indicator of the first stage, which will yield a lighter roast. If you like a medium roast, listen to the second “crack,” usually at around 7 minutes. For a darker roast, leave the beans in another 30 seconds to 1 minute. Watch them carefully because they can burn quickly at this stage!
- When beans are done, turn off the heat and transfer to stainless steel or ceramic coated colander. Avoid using plastic – it will melt. The beans will still be very hot, so use hot pad holders. I use two colanders and toss the beans from one to the other, winnowing the chaff off of them. If you do this outside, the breeze will remove the chaff for you.
Here the three Methods to Roast Coffee beans at Home
- Pan Roasting
- Roast in an Oven
- Roast in a Popcorn Popper
Pan Roasting- Coffee Beans Roasting Method
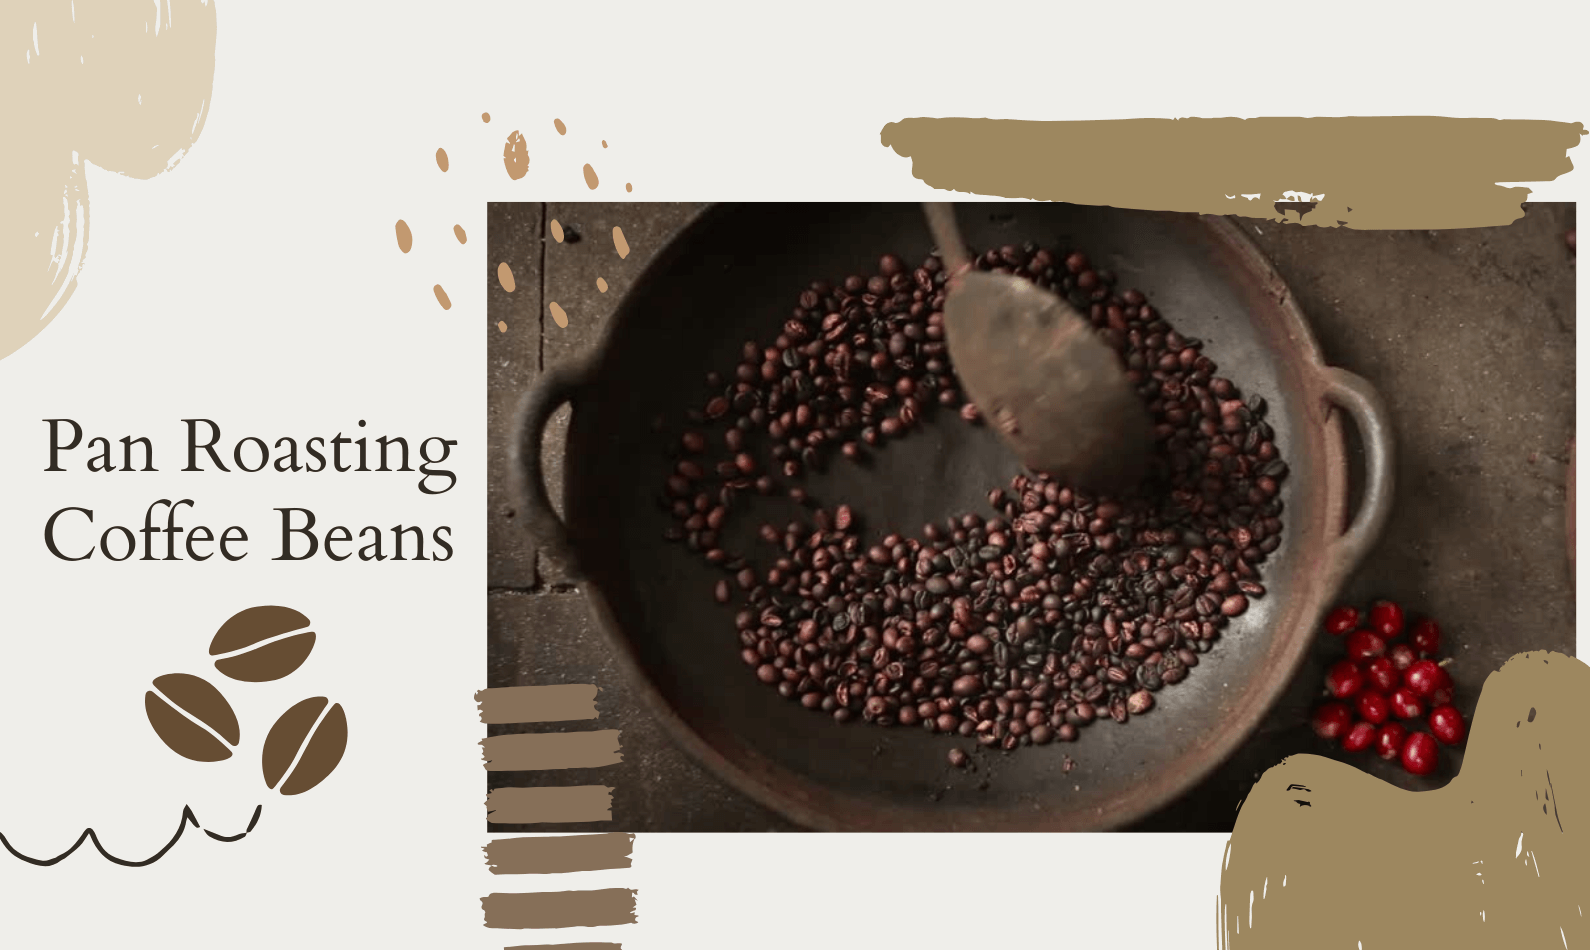
Everyone incorporates a pan or grill lying around, which means this method is very popular among the home coffee roasting community. You’ll find plenty of how-to videos on YouTube, however, be wary of who you take advice from – many DIY roasters tend to overcook their beans using this method!
What You’ll Need Roasting Coffee Beans in a Pan
- Green coffee beans
- Thick pan (cast iron/steel/uncoated)
- Hot plate/Grill
- Colander x 2 (metal)
- Oven mitts
- Wooden spoon
- Air-tight storage container
Method of Roasting Coffee in a Pan
- Maximize ventilation. Turn on the fan and open the windows. It’s going to get smoky and smelly (the good kind of smelly, the bad kind of smoky). Grilling outside is the preferred option to avoid overpowering your fellow occupants
- Place a thick pan on medium heat. Around 450F will normally do the trick
- Getting the temperature right the first time can be difficult. Experiment to find the best heat
- A gas stove/grill will make attaining and adjusting the temperature much easier
- Add a shallow layer of beans to the pan. Enough so you can stir with ease
- Keep Stirring. Never let the beans rest. Ensure they’re heated evenly
- Listen for the first crack after 4-5 minutes. Your beans are now a light roast
- Listen for the second crack after 6-7 minutes. A few minutes later the beans can crack for a second time indicating a medium roast. Roasting for much longer can end in burnt beans. Most people, us included, will wait roughly 30 seconds after this second crack before removing from the heat
- Dump beans into a colander. Stir and shake. Cool them down ASAP. Do this within the sink or outside to avoid the inevitable chaffy mess. Wear heat-proof mitts! Everything will be very hot
- Leave beans exposed for 12 hours to de-gas
-
Roast in an Oven– Coffee Beans Roasting Method
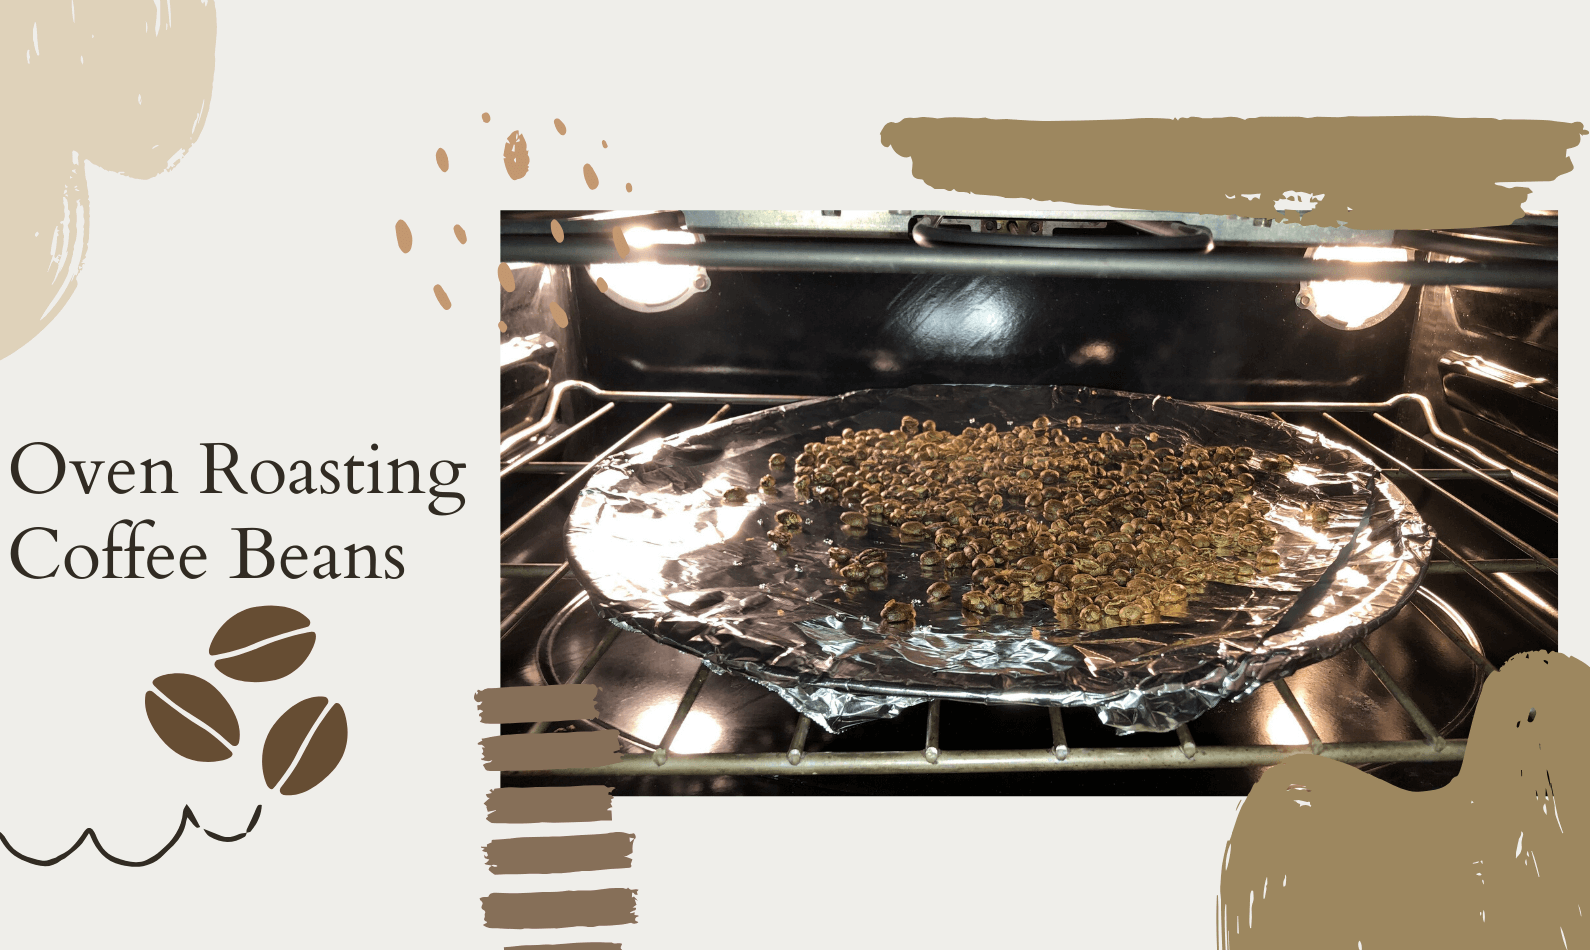
This methodology is simply as straightforward because of the stovetop methodology if you have got cookware or another receptacle with edges that will get in the kitchen appliance. A and facet to the current methodology is that it gets even preparation results. It solely takes between five to ten minutes to roast the beans victimization associate degree kitchen appliance.
What You’ll Need Roasting Coffee Beans in an Oven
- Green coffee beans
- Perforated oven tray
- An oven
- Colander x 2 (metal)
- Heatproof mitts
- Air-tight storage container
Method of Roasting Coffee Bean in an Oven
- Pre-Heat oven to 500F, Crank it up to 11. The temperature will vary for different beans and different ovens. Start at 500F and experiment up and down from here to find what works for you.
- Open everything but the oven door: Things are going to get smoky. Maximize ventilation.
- Spread beans over perforated tray: One layer deep only. Do not stack them!
-
- A perforated tray will produce the best results. Just make sure that the tray you’re using doesn’t allow beans to slip between the holes
- Beans expand during roasting and will get stuck in any holes that are large enough to accommodate a green bean
- Don’t have a perforated tray? Try your luck with a daily oven receptacle and place a sheet of baking paper underneath the beans. Give them a shake or 2 as they roast
- Place on a tray on a middle shelf: The middle of the oven provides the most consistent temperature.
- Listen for the first “crack” after 5-7 minutes: Your beans are now lightly roasted. Roasting for much longer can end in burnt beans.
- Listen for the second “crack”: The beans are now a medium roast. Most people, us included, will wait roughly 60 seconds after this second crack before taking out of the oven
- Transfer to a colander. Stir and Shake: Cool them down ASAP. Do this within the sink or outside to avoid the inevitable chaffy mess. Wear heat-proof mitts the whole time
- Leave beans exposed for 12 hours to vent CO2.
Roast in a Popcorn Popper- Coffee Beans Roasting Method
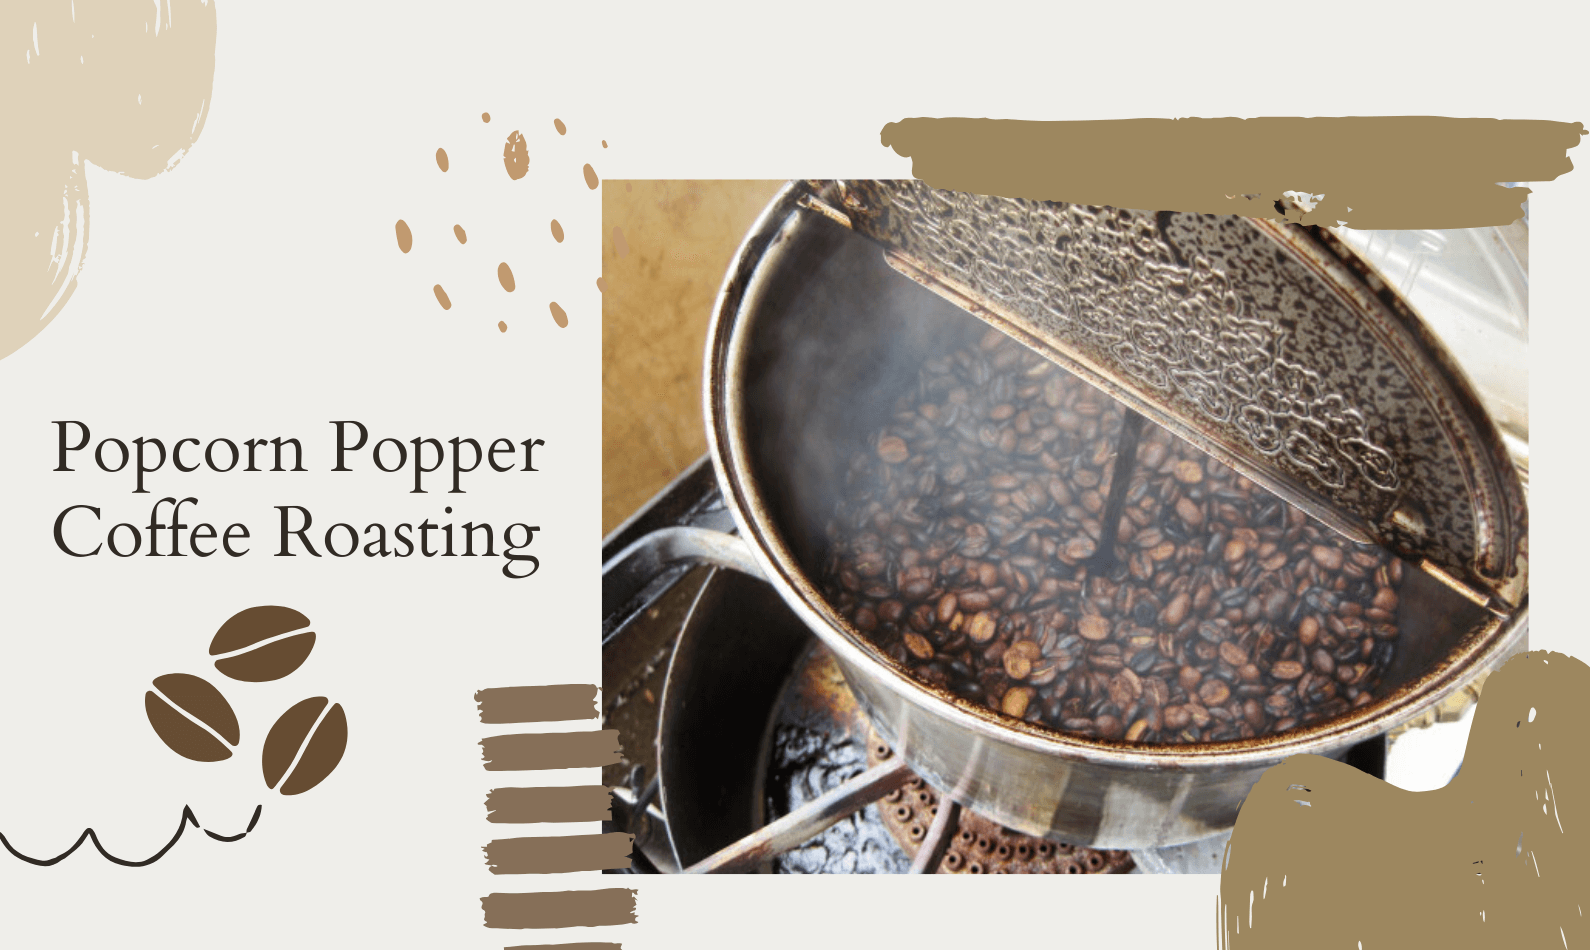
A popcorn popper can be very useful for roasting. This method also takes five to 10 minutes. However, not all popcorn poppers will handle the task. There are some hazards to create certain you avoid 1st. We have listed the items to look at out for before you roast this manner.
What You’ll Need Roasting Coffee Beans in a Popcorn Popper
- Beans
- Popcorn machine with side vented heat
- Wooden spoon
- Colander x 2 (metal)
- Heatproof mitts
- Air-tight storage container
Method of Roasting Coffee Beans in a Popcorn Popper

-
- Ventilate! Roast close to associate degree open window, or outside, if possible, to avoid filling your house with smokes and smells
- Pre-heat machine. 30 seconds, depending on the model
- Measure ½ cup of beans. Drop into the machine. Ensure the beans can rotate
-
-
- Popcorn machines should agitate the beans. If there’s no agitation you’ve probably filled the machine too full.
- Using the same quantity of beans as the machines’ recommended quantity of corn kernels is a great starting point.
-
-
- Assist the agitation. Use a wooden spatula or spoon and encourage the beans to start moving
- Once you’ve got some consistent movement place the lid on
- Keep an eye on this for the whole roast and lend a helping hand if you must
- Use the handle if your spoon is too big
- Assist the agitation. Use a wooden spatula or spoon and encourage the beans to start moving
-
- Collect chaff in a large bowl. Catch all the chaff that will come out of the machine’s spout. As soon as the lid is back, on getting your bowl in position to avoid a massive clean-up
- Listen for the first “crack” at 3-5 minutes. You’ve achieved a light roast!
- Listen for the second “crack” at 6-8 minutes. Your roast is at a medium level! Keep roasting for another 30 – 60 seconds to get your roast darker. Much longer and your beans will begin to burn
- Transfer between colanders to cool the beans. Use oven mitts when handling the machine and colanders. Things are going to be sweltering. Do this outside to avoid a chaffy mess
- Allow 12 hours for the beans to vent their CO2
Conclusion
It’s not just a fun and rewarding experience, but it’s the only way to guarantee the freshest, tastiest beans while ensuring that you’re always drinking the roast you prefer: light, medium, or dark – the choice is yours. With virtually zero barriers to entry, you can begin roasting with whatever you already own, or make a few small purchases to get up and running.
Read more about Best Coffee on Amazon
And currently, you recognize a way to roast low beans from the comfort of your humble abode. We have shown you three different ways you can roast your coffee at home, along with all the information you need to do it right. Try one of our methods out and see for yourself why so many coffee lovers have started roasting their coffee.